
Creating a Magento 2 extension to automate product description
Let's take the power back and make these machines work for us doing the boring stuff.
Written in December 19, 2024 - 🕒 5 min. readThe life of a store manager in the eCommerce world isn’t always glamorous. You may dream of dazzling product launches and skyrocketing revenue, but often you’re stuck manually writing product descriptions, filling in fields on Magento, and drinking one too many cups of matte.
But it doesn’t have to be this way. In this post, I’ll walk you through the process of building a Magento 2 extension that automates product description generation using AI models like OpenAI GPT-4 and Google Gemini.
Why should humans spend hours writing descriptions when we can make the machines do it for us? Let’s get to work!
The Problem
Product descriptions are technically required to be provided by the product supplier, but that’s often not the case, leaving store managers with the tedious task of creating them. Period. However, they are essential for SEO, sales, and providing customers with the information they need to make a purchase.
Manually writing hundreds or thousands of descriptions can be extremely time-consuming. I wanted a solution that could:
- Use AI to generate engaging, concise descriptions.
- Pull in product data dynamically: name, categories, price, etc.
- Be easily configurable so users could choose between AI providers like OpenAI and Google Gemini.
Planning the Extension
To get started, I mapped out the main features I wanted:
- Enable/Disable the feature: Store owners should be able to turn the feature on or off.
- AI Provider Selection: Allow switching between OpenAI and Gemini APIs.
- Dynamic Data Inputs: Use real-time product data like name, price, and categories.
- Admin Configurations: Add fields for API keys and a system message to guide the AI’s output.
For this, I leveraged Magento’s existing admin configuration system and built a backend controller to interact with AI APIs.
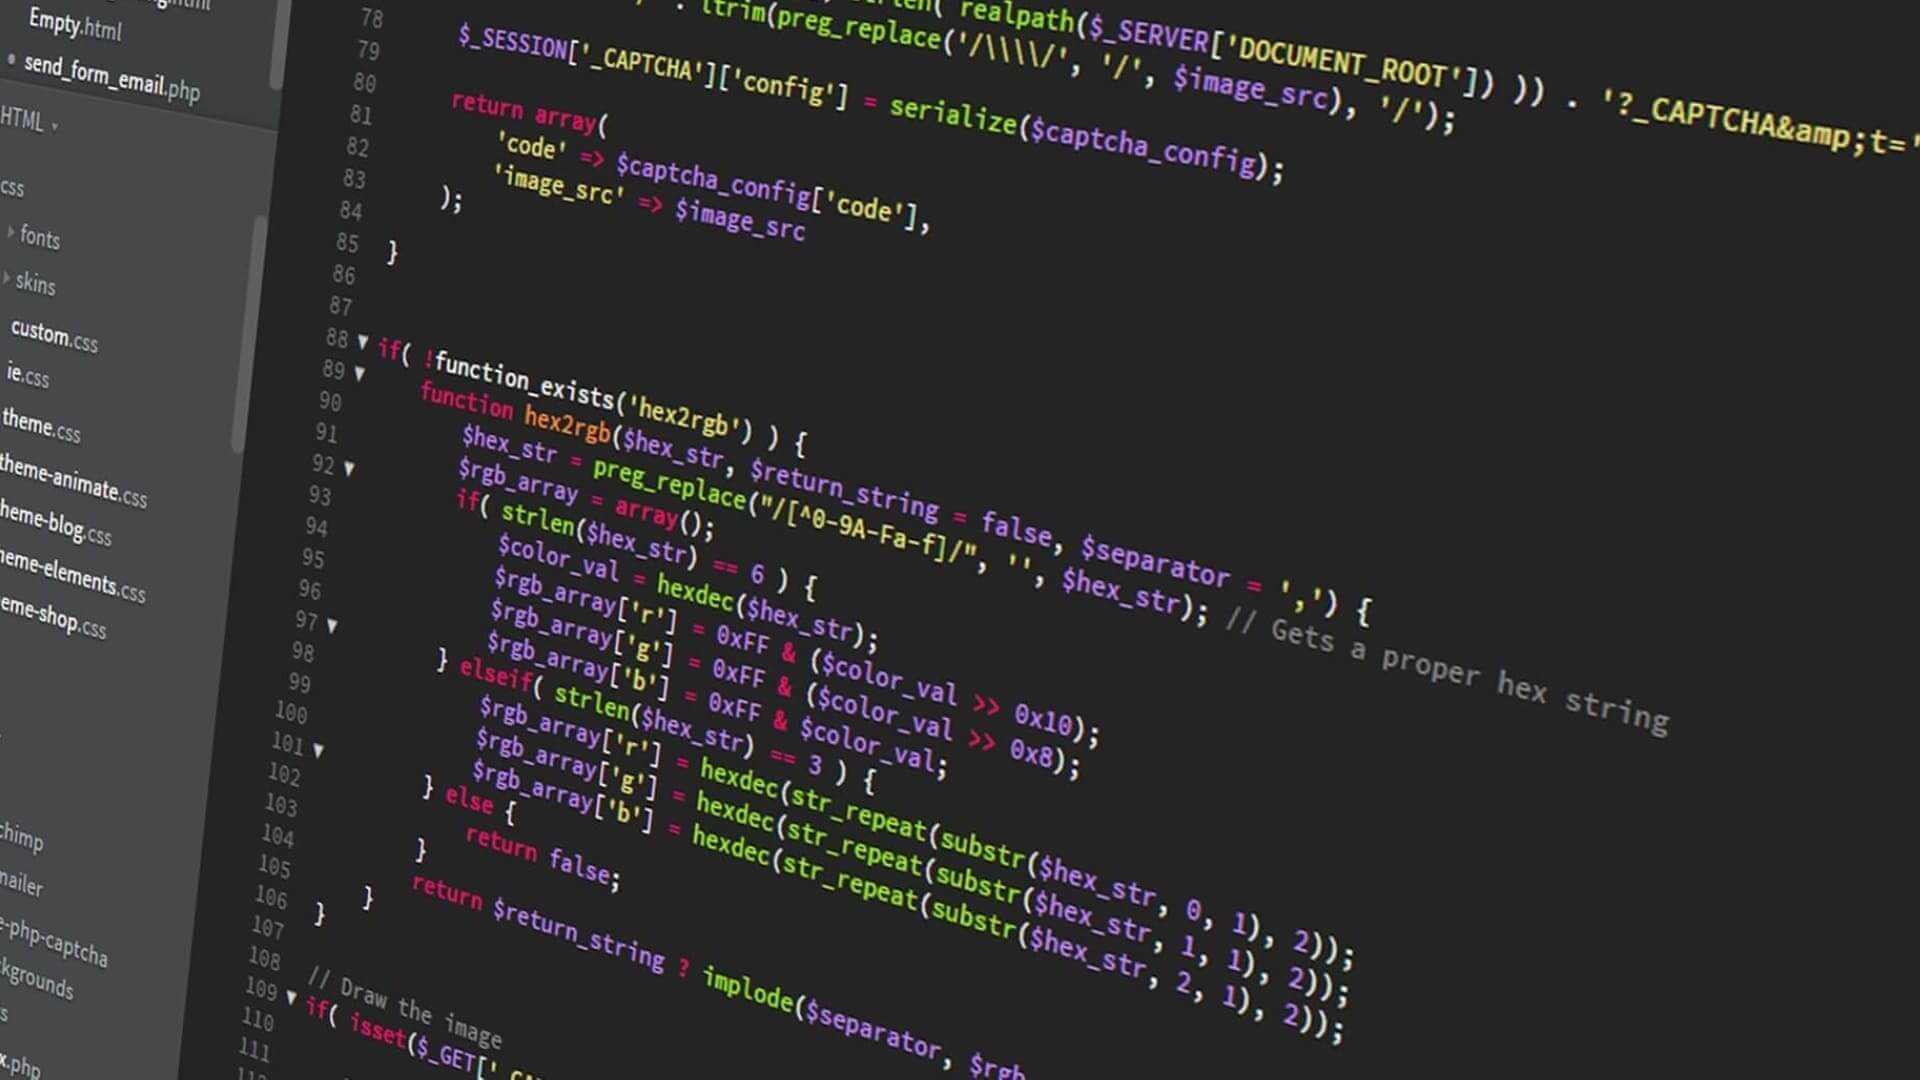
Coding the Extension
File structure
Magento is built on a modular structure, which makes it really easy to create “plug and play” extensions. Every extension must have a Vendor name (like Werules) and a Module name (like Autofill), then inside the app/code directory, you can create your Vendor/Module structure.
Here’s how the file structure looks for this extension:
app/
└─ code/
    └─ Werules/
        └─ Autofill/
            ├─ Block/
            │   └─ Adminhtml/
            │       └─ AutofillButton.php
            ├─ Controller/
            │   └─ Adminhtml/
            │       └─ Autofill/
            │           └─ Generate.php
            ├─ Model/
            │   └─ Config/
            │       └─ Source/
            │           └─ ApiProvider.php
            ├─ etc/
            │   ├─ adminhtml/
            │   │   ├─ di.xml
            │   │   ├─ routes.xml
            │   │   └─ system.xml
            │   ├─ default.xml
            │   └─ module.xml
            ├─ registration.php
            └─ view/
                └─ adminhtml/
                    ├─ layout/
                    │   └─ catalog_product_edit.xml
                    └─ templates/
                        └─ button.phtml
Admin Configuration
First, I added configuration options under Stores > Configuration > Werules Autofill. Here’s a quick look at the settings I created:
- Enable Autofill Feature (yes/no toggle)
- AI Provider (dropdown: OpenAI or Gemini)
- OpenAI API Key
- Gemini API Key
- System Message for LLM (custom instructions for the AI)
Here’s the XML snippet to add these settings:
<field id="api_provider" translate="label" type="select" sortOrder="6" showInDefault="1">
    <label>AI Provider</label>
    <source_model>Werules\Autofill\Model\Config\Source\ApiProvider</source_model>
</field>
<field id="api_key" type="text" sortOrder="10">
    <label>OpenAI API Key</label>
</field>
<field id="gemini_api_key" type="text" sortOrder="15">
    <label>Gemini API Key</label>
</field>
<field id="system_message" type="textarea" sortOrder="20">
    <label>System Message for LLM</label>
</field>
With this, I created a dropdown to select the AI provider and fields to store API keys securely.

The Button on the Product Page
Next, I injected a custom button on the Product Edit Page in Magento’s admin. When clicked, this button sends the product data to the backend controller and fetches the AI-generated description.
Here’s the frontend script:
require(['jquery'], function ($) {
    window.fetchAutofillData = function () {
        var productId = '<?= $productId ?>';
        var productName = $('[name="product[name]"]').val() || 'N/A';
        var productPrice = $('[name="product[price]"]').val() || 'N/A';

        $.ajax({
            url: '<?= $ajaxUrl ?>',
            type: 'POST',
            data: { product_id: productId, product_name: productName, product_price: productPrice },
            success: function (response) {
                $('#product_form_short_description').val(response.short_description);
            }
        });
    };
});
After clicking the button, the product data is sent to the backend controller, which then calls the AI API to generate the description. This is how the button looks on the product page:

Connecting to OpenAI and Gemini
The backend controller checks the selected provider and calls the appropriate API. Here’s the function to interact with Google Gemini:
private function generateDescriptionFromGemini($prompt, $apiKey)
{
    $ch = curl_init("https://generativelanguage.googleapis.com/v1beta/models/gemini-pro:generateText?key={$apiKey}");
    $data = ['contents' => [['parts' => [['text' => $prompt]]]]];

    curl_setopt($ch, CURLOPT_HTTPHEADER, ['Content-Type: application/json']);
    curl_setopt($ch, CURLOPT_POSTFIELDS, json_encode($data));
    curl_setopt($ch, CURLOPT_RETURNTRANSFER, true);

    $response = curl_exec($ch);
    $decoded = json_decode($response, true);
    return $decoded['candidates'][0]['content'] ?? 'No description generated.';
}
By dynamically choosing between OpenAI and Gemini, store managers can use the AI service that best fits their needs.
Testing the Extension
After setting everything up, I tested the flow:
- Enable the feature in the admin panel.
- Select OpenAI or Gemini and enter the corresponding API key.
- Go to the Product Edit Page and click “Autofill Short Description”.
The button sent the product data (name, price, categories) to the AI and fetched a nice, concise description.
Publishing the Extension
To make the extension accessible to everyone, I published it on GitHub:
👉 Magento 2 Short Description Autofill
Final Thoughts
This project was a fun dive into combining Magento 2 with AI tools like OpenAI and Gemini. Automating repetitive tasks like writing product descriptions is a great way to save time and energy for store managers.
Whether you’re building your own eCommerce store or managing hundreds of products, integrating AI can significantly improve your workflow.
Feel free to check out the extension, contribute to the project, or share your ideas for new features. Let’s keep making the machines do the boring stuff while we focus on growing our businesses 🚀.
See you in the next one!
Tags:
Related posts
Post a comment
Comments
No comments yet.